
Flame/Fire/Light Sensor Quickstart Guide
Get a PDF version of this guide here!
Detect Flame/Fire/Light with this easy to use tiny board. You can easily connect it to popular controllers such as Arduino as an input digital pin giving a HIGH or LOW output signal. The board also has a mounting hole for mounting it to your desired surface.
HARDWARE SPECIFICATIONS
- Working voltage: 3.3-5V
- Detect flame/fire wavelength at 760nm ~ 1100nm
- Flame detect distance ~80cm
- Detect angle: 60 degrees
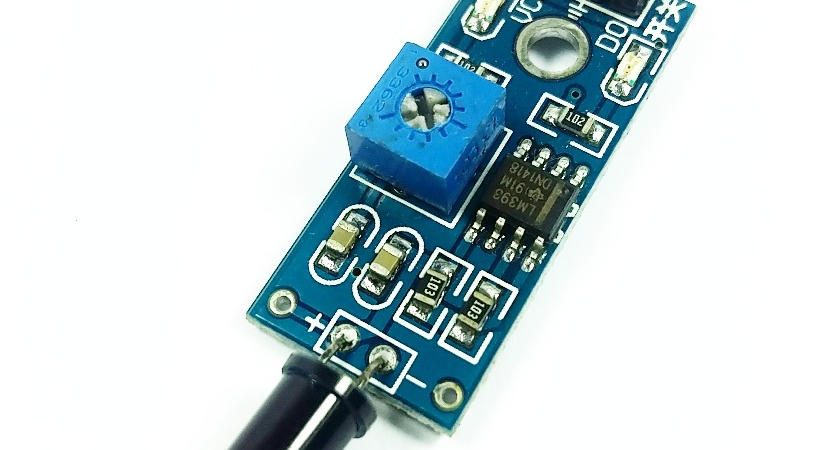
- Sensitivity adjust with onboard potentiometer trimmer
- Digital output 1 or 0 (from built in comparator)
- Mounting hole
- With comparator circuit based on LM393
- Dimension: Height: 7.3 mm, Width: 47.2 mm
- Weight 2.1 g
PARTS LIST
For this quickstart guide, we will need the following materials:
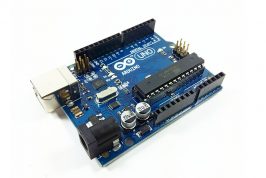
- 1 – Arduino Uno: https
- Connecting wires
- 1 – Flame/Fire/Lighe Sensor


HARDWARE OVERVIEW
The Flame/Fire/Light sensor has three pins: VCC, GND and DO

| INPUT | Description | |
| GND | To be connected to the GND pin in a microcontroller. | |
| VCC | Supplies power to the module. Could be connected to a +5V pin or +3.3V pin. | |
| OUTPUT | ||
| DO | Stands for Digital Output. Gives a HIGH or LOW output signal when monitoring for fire/flame/light | |
WIRING CONNECTION
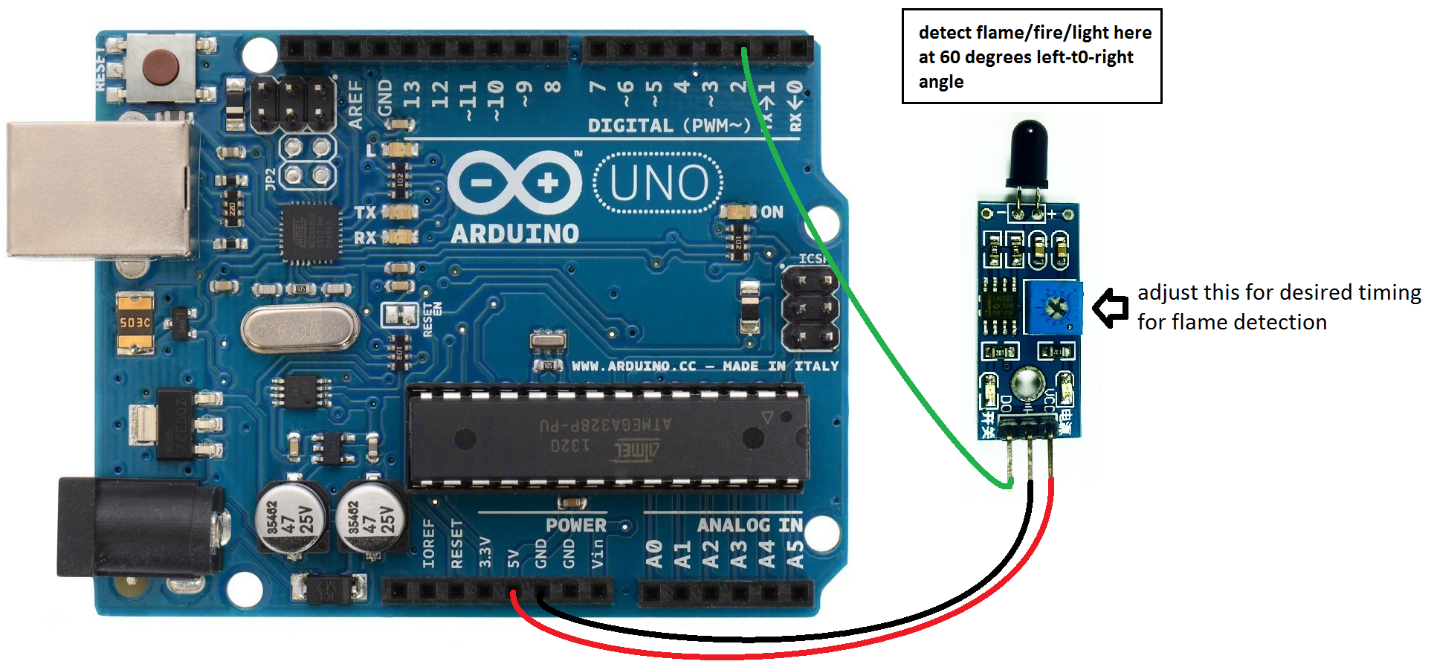
Connect the sensor to the Arduino Uno according to the table below:
Flame/Fire/Light Sensor —> Arduino
VCC —> 5V
GND —> GND
D0 —> DIGITAL PIN #2
ARDUINO CODE
On the blank Arduino script, copy the following code:
int FlamePin = 2
int Flame;

void setup() {
 // put your setup code here, to run once:
pinMode(FlamePin, INPUT);
Serial.begin(9600);
}

void loop() {
 // put your main code here, to run repeatedly:
Flame = digitalRead(FlamePin);
if (Flame == HIGH)
 {
   Serial.println("FIRE!");
 }
else
 {
   Serial.println("NO FIRE");
 }
}
Upload the code. Once done, open Serial Monitor and set baud rate to 9600.
OUTPUT
It will display if there is a flame/fire/light in front of the sensor. The sensor have about 60 degrees left to right detecting angle.
If you have the flame or light in front of the sensor you may need to adjust the detecting capability. The trimmer potentiometer (blue box with screw terminal figure) on the sensor board is the one you set for the detection. Try turning slowly the potentiometer from left to right until you have a detection and no detection for the flame or light that you are sensing.
You may try to put an output LED or output buzzer to light up or sound alarm if there is a flame detected. And remember to add your code for the LED blinking or buzzer alarm.
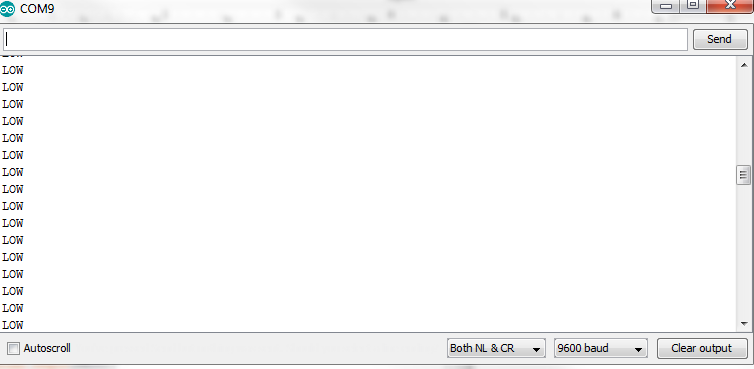
No Flame Detection
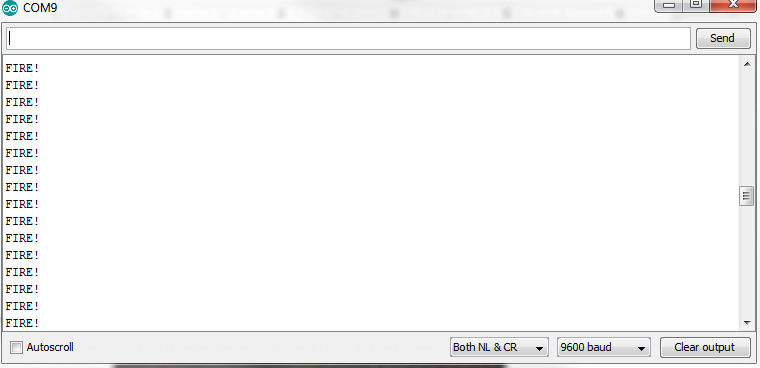
Flame Detected
References and other Applications
You can find more information, examples and references below.
Arduino Flame Sensor Interfacing by Shashi Kumar
Flame Detection by Amal NS
http://www.theorycircuit.com/arduino-flame-sensor-interface/
https://www.pcboard.ca/flame-sensor-module